

#ADORED | HOW TO TEST LOCAL TEXTURES ON MESH HEADS & BODIES
- Ampersand Artful
- Aug 25, 2019
- 3 min read
hey, #ADORABLE! I've been meaning to get to this tutorial for a while now, and I hope all my fellow creators & designers find it very helpful. even with the release of bakes on mesh hitting the grid tomorrow, there will still be elements of mesh bodies and heads that will require appliers, like eyelashes, nail polish, and material layers.
follow my instructions to learn how to use local textures to test your makeup, tattoo, material shine & clothing textures on mesh heads & bodies. no need to log into beta grid and upload a million textures! if you have basic knowledge of working with the scripts the various brands of mesh heads/bodies use, you can easily follow this tutorial.
tested and guaranteed to work on catwa, lelutka & genus heads/eyes, plus slink & maitreya bodies/nails. I assume this should work on other brands of heads and bodies too, especially if they are compatible with the omega applier system. however, while the omega applier system is not necessary for my process to work, it does make things easier.
let's get started, baby!
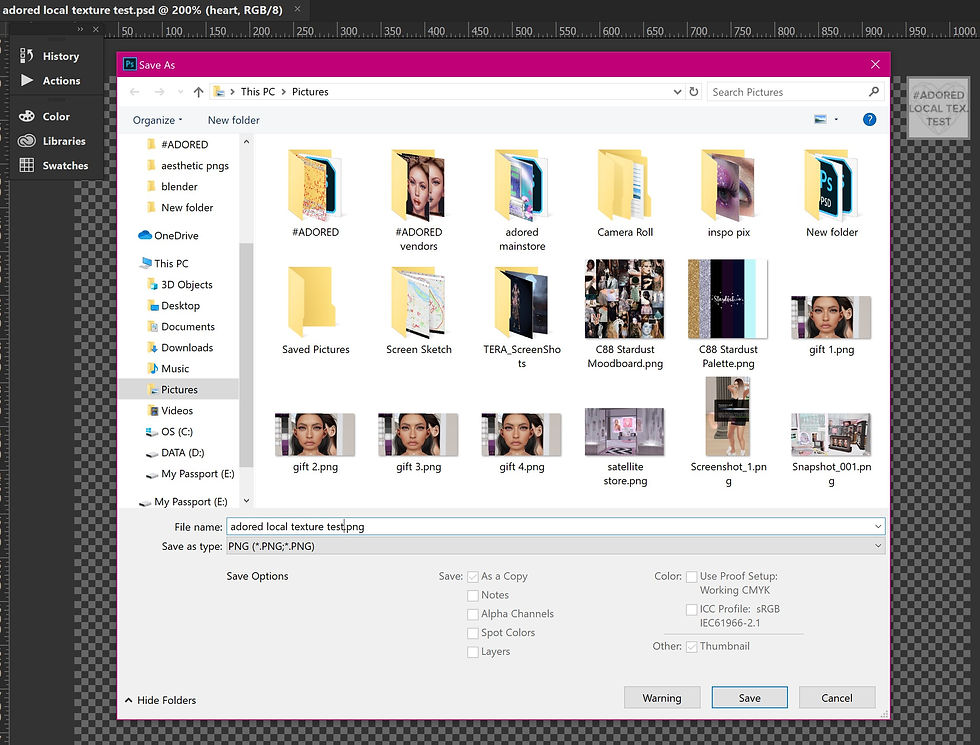
1). you need to get set up in photoshop (or your image editor of choice) first.
open the file you will be working on, and "save as copy" as a .png/.tga file. I highly recommend creating photoshop actions so you can quickly "save as copy" in your format of choice with a keystroke. I like to use the F3 & F4 keys.
once you have saved a copy, be sure to keep your original file open in photoshop!
2). now hop over to second life, and rez a prim. right click the prim, go to the content tab and select "new script." you may rename the script if you'd like, in this case, I'll name mine "clickable get texture."
3). open the script you just made, then copy/paste the following into the script and save:
default { touch_start(integer num) { llSay(0, llGetTexture(0)); } }

4). next, in edit mode, select textures tab > texture button > local > add. select the copy of the .png/.tga image you saved in step 1 and click "ok/apply."

5). exit out of edit mode, the click your newly textured prim. you will get a UUID in local chat. copy that number!
6). rez another prim and drop in the applier script you will be working with, then paste the UUID into the applier script. in this tutorial, I am using the genus scripts.
for ease & simplicity, I usually use the omega system applier scripts, except when I am creating for genus heads, or testing eyelashes.*

7). go ahead and test your applier out! you'll see your local texture applied to your head/body!
the best part, as you continue working on your original file in photoshop, and saving new copies over the original copy you made, your new work will appear on your head/body. just be sure not to rename your original file or the copy, or you'll have to repeat the process, steps 4 - 6.


8). go forth and create! good luck!
if you need help, shoot me (ampersand artful) a message <3
*I don't use omega appliers when testing textures for genus heads because the texture offset on omega is slightly different than the offset for the genus scripts.
so, if you are planning on using the genus scripts to make your final appliers, DO NOT use the omega scripts for local texture testing, or you're gonna have a bad time. follow my process using the official genus scripts instead.


Comments